DIY Summer Shorts!
SNIP--- SNIP--- SNIP---!
So its the summer time, and everyone is out wearing whatever cute summer clothes they have in their closets, rushing and going out to the mall to find and buy those super cute summer outfits, spending big bucks on name brands or whatever stores are in the area selling whats hot for the summer-time. Though instead of going out and spending on some new clothes I can show you how to make your own cute summer wear for under 5 bucks!
WHAT YOU'LL NEED:
- OLD JEANS
- REGULAR SHORTS
- SCISSORS
- NEEDLE, & THREAD
- A PENCIL OR RULER
- PINS
OK! LETS START!
STEP 1:
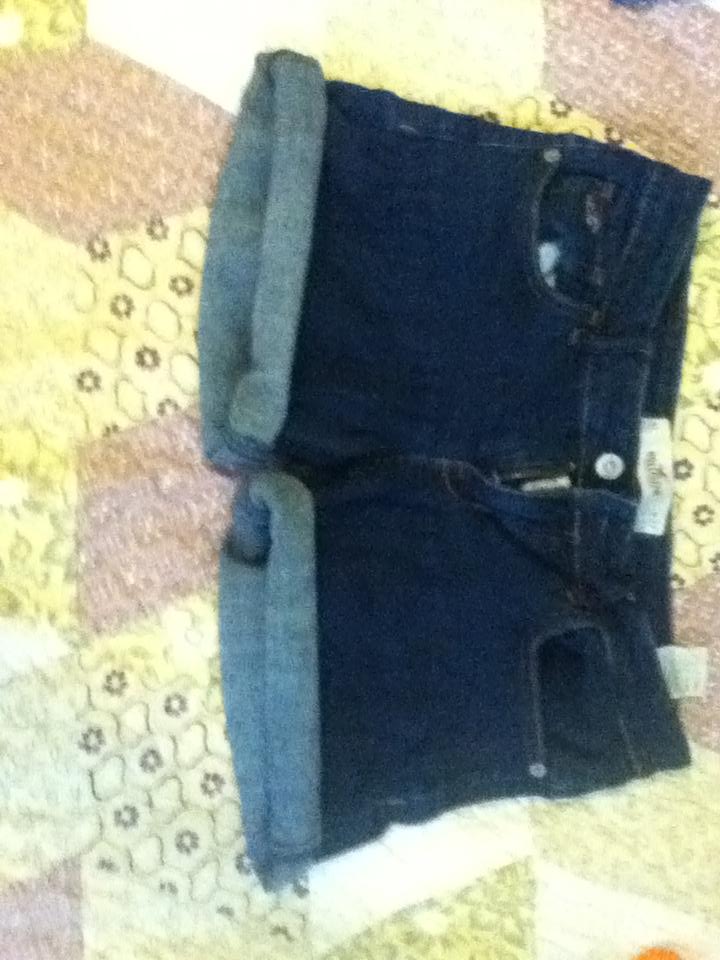
To start off this DIY you are going to want to lay down you OLD JEANS(here my jeans are from Hollister) out on a flat surface( you'll get better measurements this way and less prone to cut the length of the shorts wrong)
 STEP 2:
Once you have your old jeans laid out on a flat surface your going to want to take your REGULAR SHORTS (which ever kind you'd like) and place them directly on top of the old jeans.
This will give you a good estimate on how long or short you want your shorts to be :]

STEP 3:
Taking your Ruler( or in my case a pencil) your going to place it roughly about 5 inches away from where the bottom of the regular shorts end.

Then taking your scissors starting from where you laid down the pencil cut straight across the ONE leg!(LEAVE THE OTHER ONE ALONE FOR NOW)

It should look like this so far!
STEP 4 :
Now that we have one leg shorter than the other, we are going to fold the shorter leg on top of the longer un-cut jean leg.
WHAT YOU'LL NEED:

This will give you a good estimate on how long or short you want your shorts to be :]


It should look like this so far!
 |

STEP 5:
Now this is where it totally up to you on how long or short you want your shorts to be, along with if you want them to be with a folded end or to be frayed. Personally I find shorts to be a lot cuter when they have a folded end, so in this step I am going to take the ends of my cut jeans and fold them over until I find a length I feel is comfortable for me.


Now this is where it totally up to you on how long or short you want your shorts to be, along with if you want them to be with a folded end or to be frayed. Personally I find shorts to be a lot cuter when they have a folded end, so in this step I am going to take the ends of my cut jeans and fold them over until I find a length I feel is comfortable for me.
Now that I have a length that I am comfortable with I am going to take ONE leg(like before) and cut off the ends that I had folded over :]


So now it should look like before with one end cut short and the other leg longer.

STEP 6:
Fold over the shorter end of the shorts again so that the back side of the shorter end is facing you, and like before cut along the line that it provides you. This will create a more even look to your shorts!

Out come from cutting the shorts again should be this!: (If you like the frayed look then feel free to cut them a little shorter here, and be finished!)


After pinning down each end you should be able to see your shorts coming into its final look...

Out come from cutting the shorts again should be this!:
 (If you like the frayed look then feel free to cut them a little shorter here, and be finished!)
STEP 7:
OK, Here is where things start to get a little more technical, so be careful to pay attention in these next few steps.
SO now we are going to need our PINS.
Taking the ends of the shorts you are going to want to fold them over once, then on each end of the shorts place a pin to hold the style in place.
SO now we are going to need our PINS.
Taking the ends of the shorts you are going to want to fold them over once, then on each end of the shorts place a pin to hold the style in place.


After pinning down each end you should be able to see your shorts coming into its final look...
STEP 8:
Now going along the ends that you have pinned, taking your THREADED NEEDLE(when threading the needle try and find a thread color similar to the jean color)SEW along the ends that you pinned.


 STEP 9:
ALOMST THERE!
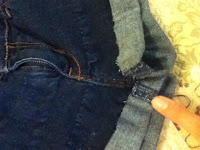
OK! now that you have sewn the ends that we have pinned, now you want to take out the pins and examine the shorts, try them on and make sure that the folded ends are even all around, snipping off any extra pieces of jean that stick out from the folds.
STEP 10:
Annnnnd Last but not least! take your new shorts and wear them proudly! (I wish I had a better picture for this, but this is the finished look! HOOARY!!)
CONGRATULATIONS! You made your own summer shorts and saved major bucks. Hopefully this step-by-step tutorial was easy for you to follow, and hopefully you take what you learned here into making your own future DIY shorts or other projects for this lovely summer season!
Please if you wanna give me some feed back on this DIY leave it in the comments section! I'd love to hear your opinion!-Elly


 STEP 9:
ALOMST THERE!
OK! now that you have sewn the ends that we have pinned, now you want to take out the pins and examine the shorts, try them on and make sure that the folded ends are even all around, snipping off any extra pieces of jean that stick out from the folds.
STEP 10:
Annnnnd Last but not least! take your new shorts and wear them proudly! (I wish I had a better picture for this, but this is the finished look! HOOARY!!)
CONGRATULATIONS! You made your own summer shorts and saved major bucks. Hopefully this step-by-step tutorial was easy for you to follow, and hopefully you take what you learned here into making your own future DIY shorts or other projects for this lovely summer season!
Please if you wanna give me some feed back on this DIY leave it in the comments section! I'd love to hear your opinion!-Elly

Comments
Post a Comment
Tell me what you think :]